

Copyright 2002-2013 Hamcrafters All Rights Reserved
WKUSB Assembly Pictures
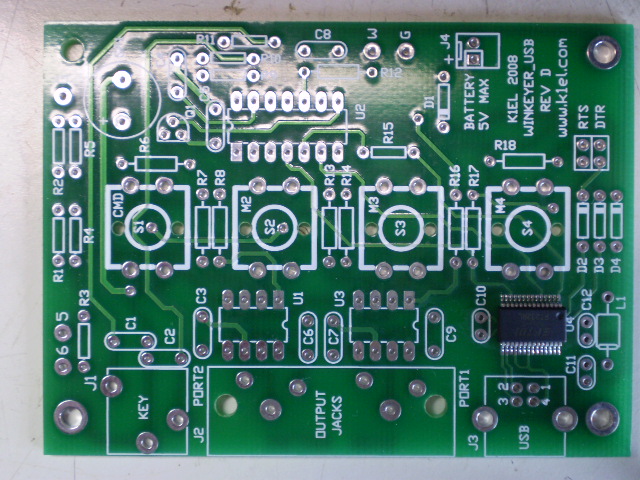
The board shown is REV D.
Bare PCB with USB Controller
Step 4 - Install Capacitors and Resistor Network
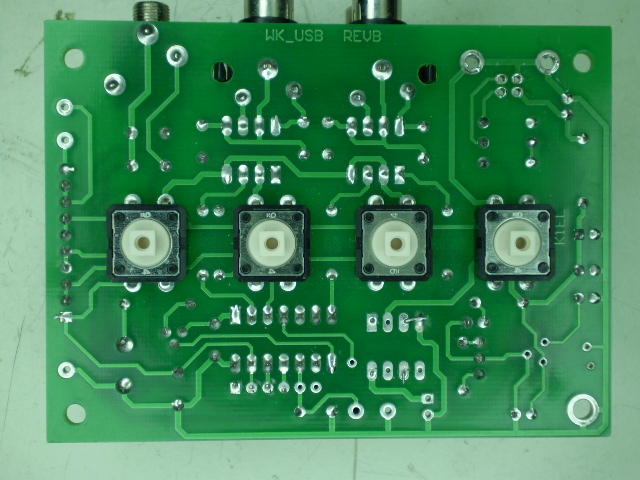
Pushbuttons go on back of PCB!! (Rev B board shown)
Step 6 - Install Voltage Regulator and Power Supply Leads
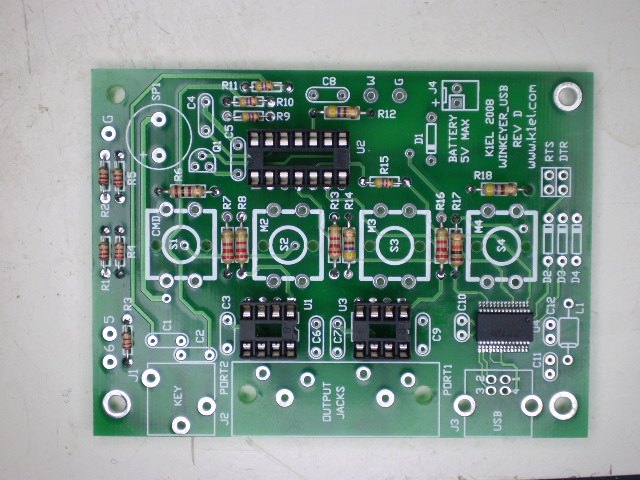

Resistors and Sockets Installed
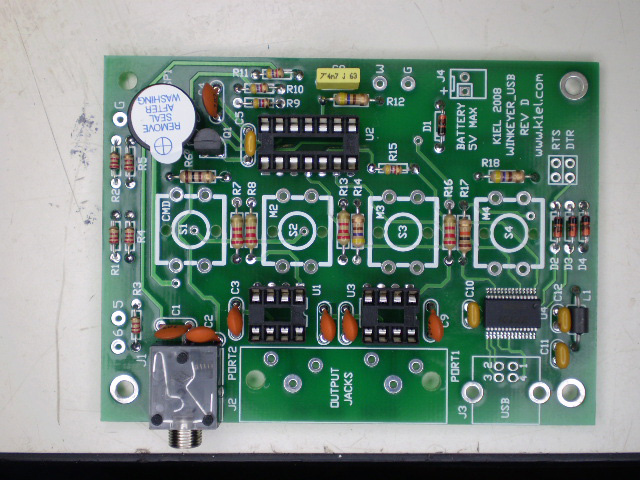
Capacitors Installed
Install Speaker, paddle connector, C8, and Q1
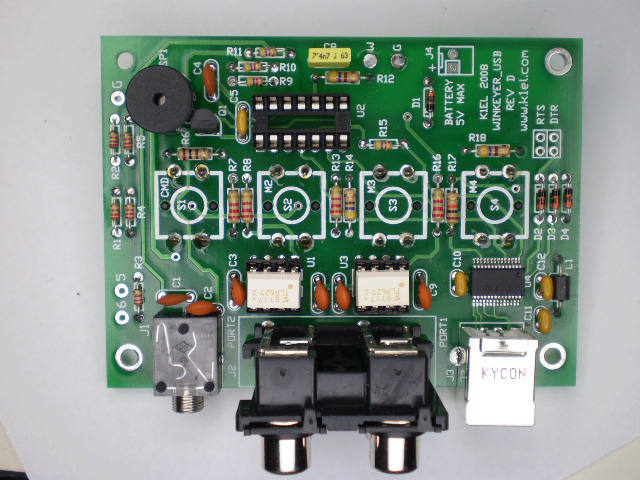
All components mounted except WK2 I.C.

www.hamcrafters.com